Wednesday, August 31, 2011

North Idaho Fair 2011

The North Idaho Fair comes to Coeur d'Alene, Idaho in late August. We have missed very few of them in the 15 years that we have lived here. Now that I think about, the only year we missed was the summer I had our daughter in 2002.

Before Emma came into our lives, I was very big on entering canned items every year. I even won the Ball Canning Pickling Award twice. When Emma joined 4-H four years ago, she started entering her insect collections as a Cloverbud which is a non-competitive 4-H group for kids 5 to 7 years old.

This year was Emma's first year has a full fledged 4-H kid. Her projects were Entomology and Poultry. Once we found out that we had to come twice a day for the five days of the Fair to feed her chicken and its cage, we decided to have some fun and enter some things other than her two 4-H entries. Heck, maybe even win a little cash to help cover the gas on two twenty mile plus trips we had to make daily.
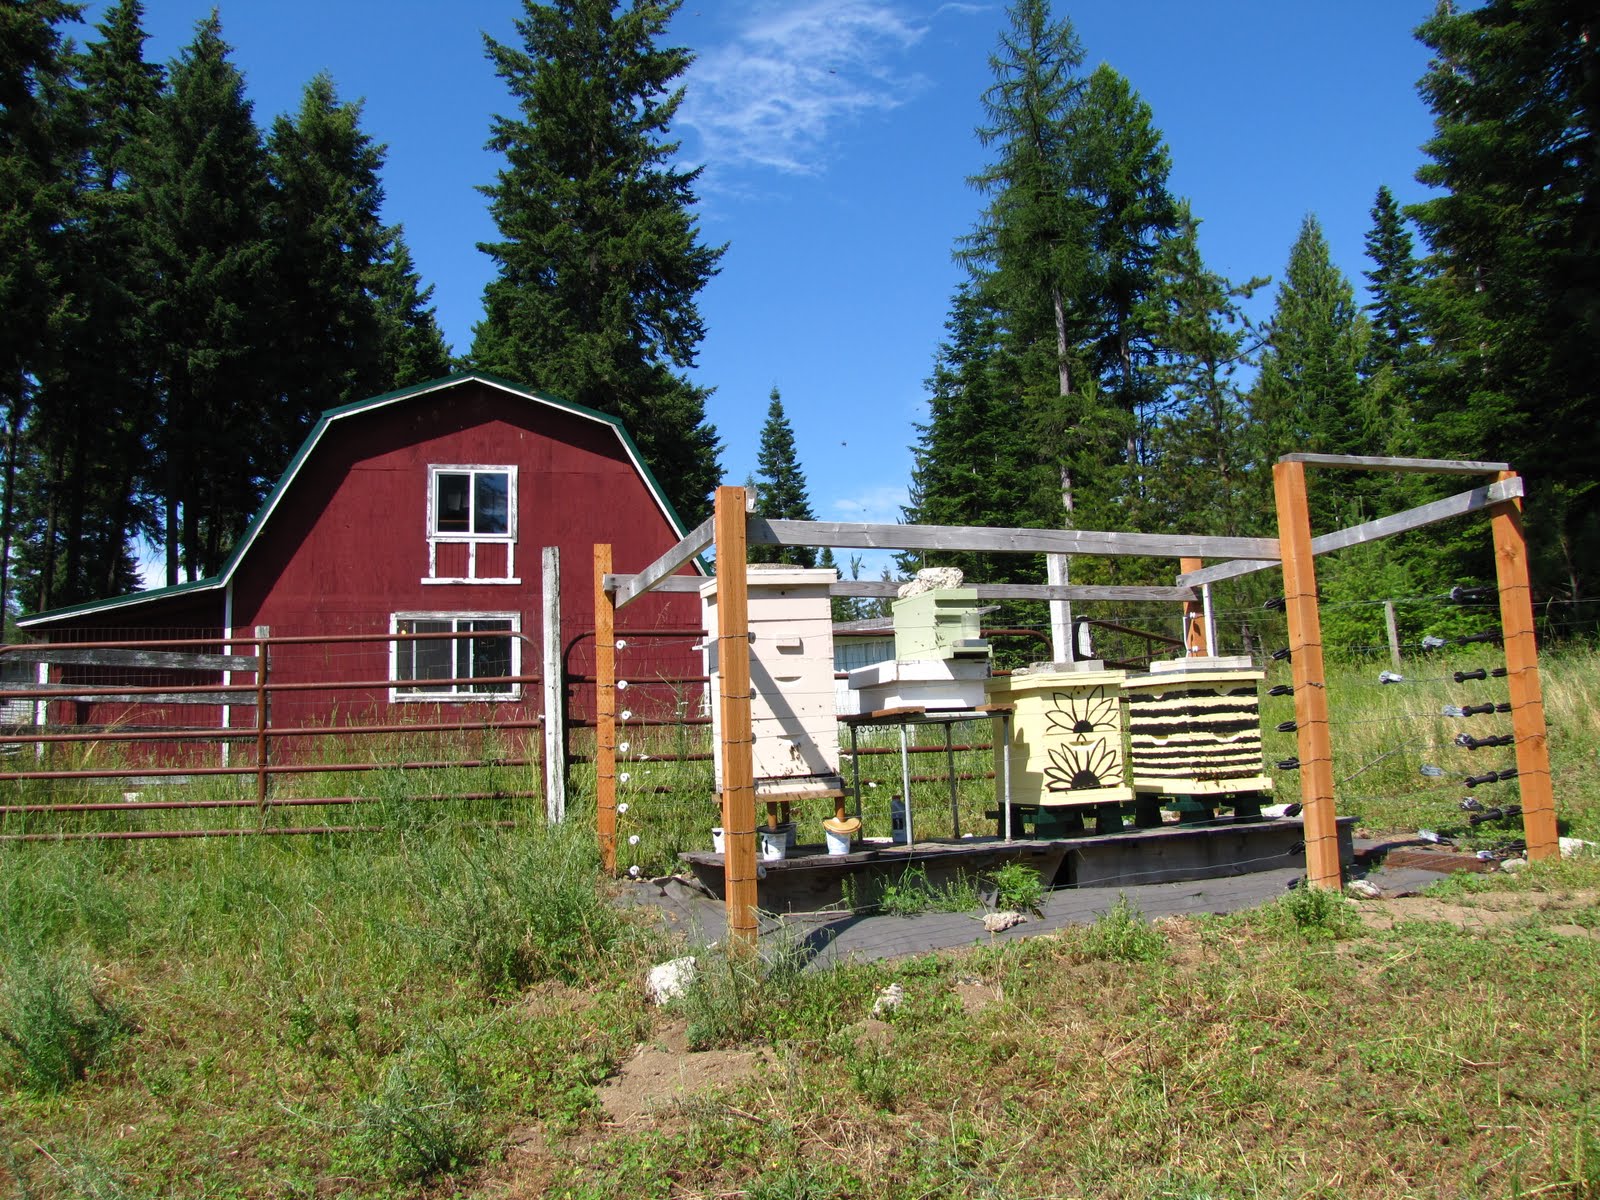
Emma entered a frame of honey comb from her beehive and a dozen large eggs from our Marans flock. Both went second place which made her very happy to say the least. The judge said the comb would have placed better if it did not contain two colors of honey: light on the edges and dark in the center.

I entered 9 canned items and did really well in Salsa divisions, both green and red by getting a second place ribbon for my salsa verde and tomato salsa. My sweet pickle relish also got a second and 3 of my jam entries placed in third. I was happy :)
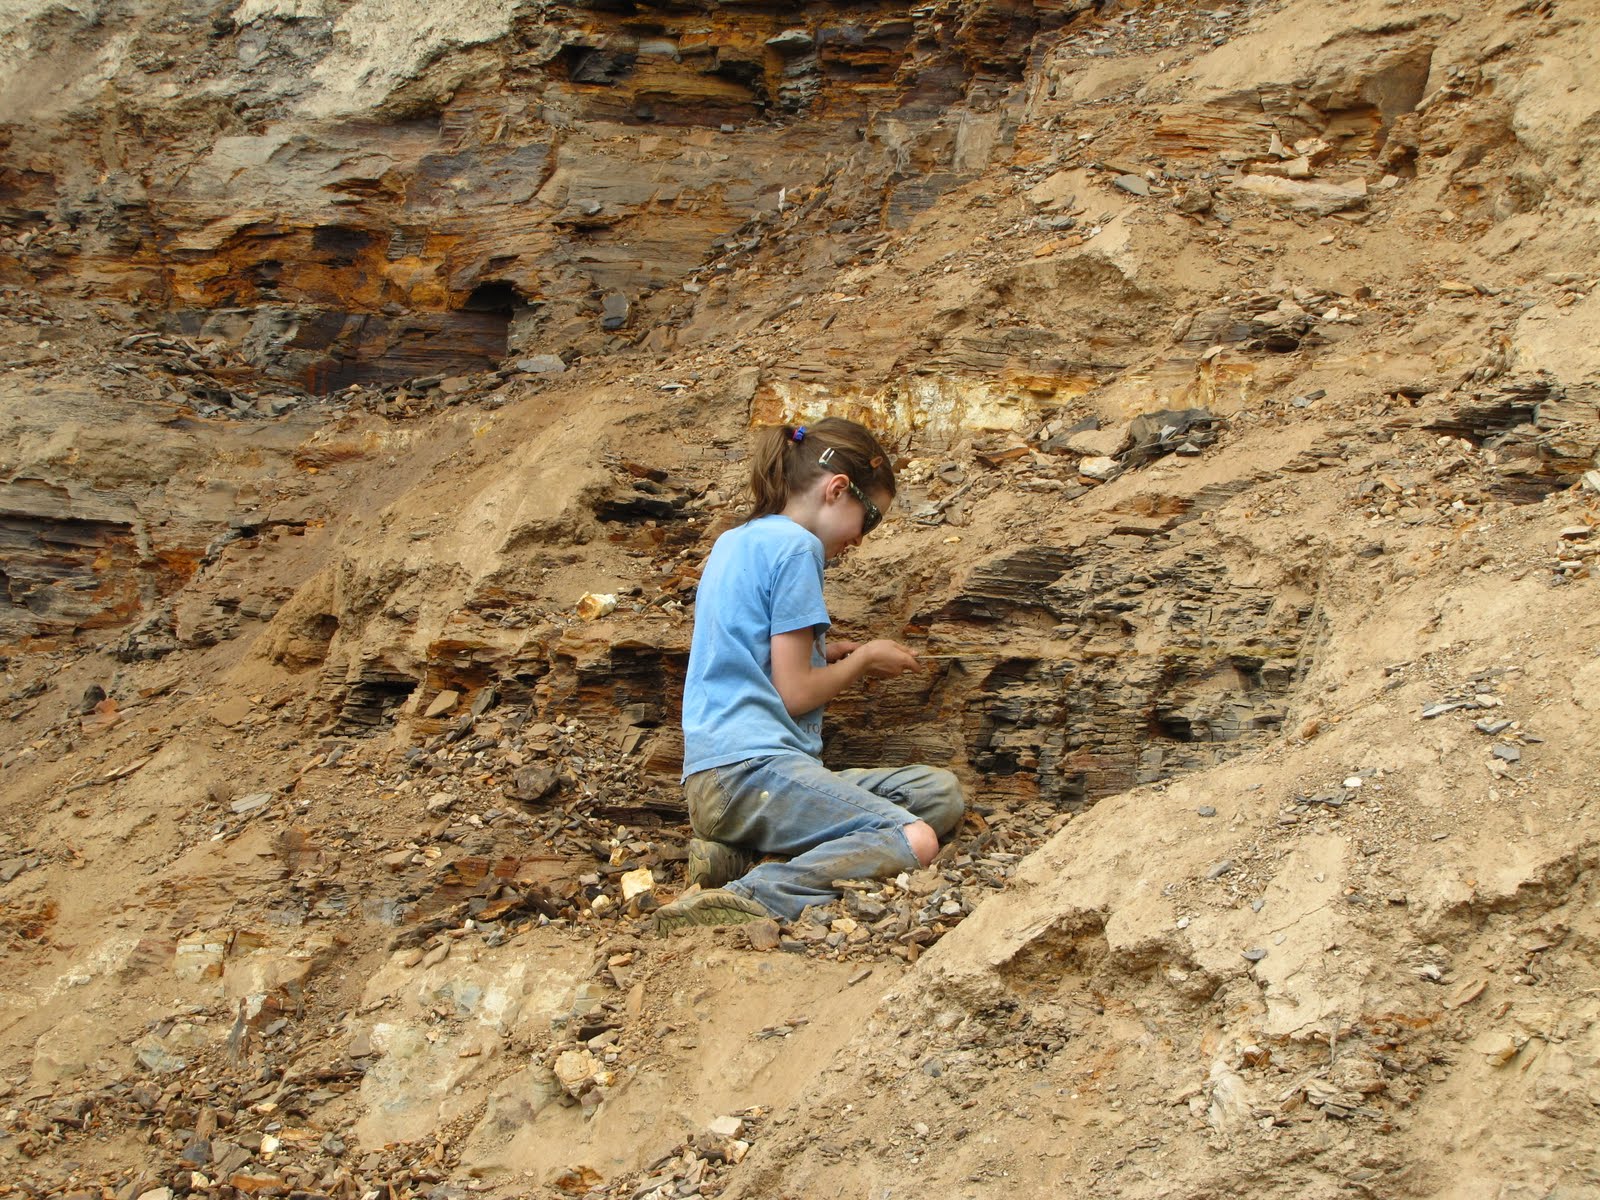
Now Emma's 4-H Entomology Project did really well by going Grand Champion. She was so proud and cannot wait to participate in the project again next year.
Here's Emma showing her little Belgian bearded d'uccle pullet named "Pengu". In quality judging the little bird was awarded a blue ribbon and Emma took a fourth in Junior Fitting and Handling.
We are all looking forward to attending and participating in the Fair next year. We'll probably even enter more things, too and stay in the 4-H Camper Village so we don't have to drive back and forth so much.

Monday, August 1, 2011

Nature Never Ceases to Amaze

I was topping off the cattle troth Saturday evening and I just happened to look down and see this beautiful little nest that must have blown out of one of the big grand firs in our yard. What a thing of beauty it was! I had to run in and grab my camera so I could take a picture of it before the sun slipped behind the hills.
Look at all the materials this little bird collected to build this nest: moss, horse hair, sticks, grass and even a few chicken feathers, too. Nature is simply one continuous ongoing miracle that never ceases to amaze and inspire me.

Friday, July 29, 2011

Diggin' in the Dirt

Here in North Idaho we have two fun attractions that do not always get the attention they deserve both are near the small town of Clarkia. One is the Fossil Bowl and the other is Emerald Creek Garnet Area. If you have kids or like to dig in the dirt to find buried treasure then these activities are for you.
Here's a few of our fossil finds. You can take home as much as you want, there is no limit.Dawn redwoods are often found.Here's two halves to a leaf impression.Another dawn redwood.
Off to the garnet area. Yes, we actually paid to dig in the dirt! LOL!Cleaning our dirt in the sluice box with water to washing it away.
Picking through the remaining rock to find our garnet prize.
Here's some of the garnets we gleaned from our buckets of dirt. There are a couple in there over half an ounce in weight. What fun, this was a blast and I want to do it again before summer ends.

Wednesday, July 27, 2011

First Honey of the Summer

We had family visiting this week from out of town and thought it might be fun to pull a frame of honey from one of the hives to let the kids try some comb honey.
I brought in a nice heavy frame and used a sharp-edged metal spatula to cut off some small chunks for every one. After everyone had their fill of honeycomb I scraped the remaining comb into jars to make chunk honey. Which is jarred honey with chunks of comb in it. It was just beautiful! And the honey was wonderful tasting, too.
If you are new to beekeeping and/or do not have access to a honey exacter, making chunk honey is a great way to harvest your honey and start using it in you home. I plan on extracting my honey but I plan always pulling a frame or two to enjoy the first honey of the season.

Tuesday, July 19, 2011

Spirit Lake Campout

Photobucket
Last weekend we had the opportunity to camp at our friends' cabin on Spirit Lake here in North Idaho. I can call it a "campout" because we slept outside in our tent. ;)
Photobucket
This is the second year that we have met here to camp, cook, fish and have fun. Also, we collect insects for our children's 4-H Entomology Project collections. It's a hoot because the girls get to chasing butterflies and dragonflies with their nets. More often than not the parents get caught up into the hunt and start running after bugs, too.
Photobucket
I have to admit, I probably got more caught up in the fishing more than anything. I caught a lot of little bass but finally hooked into one work frying.
Photobucket
Photobucket
The sunrise was just gorgeous! There was a mist coming off the lake. We were lucky enough to see a moose swimming along the edge of the lake. Unfortunately I had a fishing rod in my hand instead of a camera.
Photobucket
Photobucket
The girls got out in the boat and paddled after a few bugs.
Photobucket
Photobucket
The geese had to be "evicted" from the area when we arrived but I'm sure they moved right back in after we vacated the grounds.

Thursday, July 14, 2011

Cheddar Brats for Cheaters

This weekend we have a camp out planned at our friend's cabin on Spirit Lake so I am making cheddar brats for all of us to cook over the campfire. When I want to make brats quick and easy I use Penzey's Bratwurst Sausage Seasoning which is a wonderful blend made in Wisconsin.
I also used a cheese product know as Hi Temp Cheddar Cheese. It's a cheese that has an extremely high melting point of around 500F. So it stays intact and does not melt when sausage is cooked or smoked. Cabelas now carries it and it is also available a LEM and Butcher Packer. Here's what I used for my seven pound batch of bratwurst:

  • 4 1/2 pounds of ground venison
  • 2 1/2 pounds of ground pork
  • 7 TBS of Penzey's Bratwurst Seasoning
  • 2 cups of Hi-Temp Cheddar Cheese
  • 1 cup of cold water
  • 16 ft of hog casings (soaked for 30 minutes and rinsed)
The water and the seasoning are mixed together first, then the meat is added and also mixed together. The Hi-Temp Cheddar Cheese is added and mixed after every thing else is well blended.
I used my large Kitchen Aid Pro stand mixer but I have to say that I would not recommend mixing such a large amount in this size mixer, I believe I'll keep it a six pounds or less next time around.
Into my 5 pound stuffer the prepared meat went and was cranked out into hog casings. I twisted the stuffed cases to make links. I'm still working on that skill, it's a balance of not over-loading the casings to the point that there is not room to twist them and form links.

If you have never made any sausage before and want to get your feet wet, this is a great sausage to make especially with the seasoning already measured and mixed for you. Even if you do not have a sausage stuffer you can make patties, too. Enjoy!

Tuesday, July 12, 2011

To Bee or Not to Bee...

Last year we took on the new endeavor of beekeeping. We started with a package of Carniolan bees to install in our first hive. A package of bees consists of a mated queen with 3 pounds of worker bees. I instantly fell in love with our bees and could not wait to check in our hive every weekend.

I cannot recommend beekeeping enough. Keeping a hive or two requires very little time: about an hour a week during from late winter to late fall depending on where you live in the world. It's also amazing to observe the inside of the hive and what the bees are doing, not many people get to witness this.

If you think you might want to try beekeeping, I would recommend reading up on the topic as much as possible both in books and on the web. A great site that you can start reading right now is Beekeeping Lessons created by Long Lane Honey Farms. Beekeeping for Dummies is a fun and educational read that's loaded with information that can get you started in beekeeping.
Also, you will want to find out if there are any local beekeeping clubs in your area that offer beekeeping classes. This is how I started out and it was very valuable to learn with hands-on experience. The day we pick up our first bee package we actually got to watch how to install a package of bees into our hives.

For beekeeping supplies in your area you will save yourself a lot of time by contacting a local beekeeping club to find dealers in your area. Buying online is an option, too. Mann Lake Ltd. has a great selection of everything you need to get started and they offer free shipping on purchases over $100 which is an easy minimum to reach when purchasing your initial hive set up.

After starting one hive, it was a very natural progression to add more bees to our lives. Now a year later we have 4 hives: the one we started last season, a split from our first hive, a new package of bees for my daughter and a small nucleus hive that was also split from our first hive. Our limiting factor is the size of our bee yard which we had to construct to help prevent the neighborhood bears from helping themselves to the honey buffet.

My hope is after reading this post that your interest in beekeeping will be perked and you may consider taking this one as a hobby for yourself. If you have heard the news about the decline of the honeybee in nature and wondering how you can help, well starting a hive is the best way to bring bees back to our gardens again.

Monday, July 11, 2011

A Little Smoked Trout

While my daughter and I were at the butcher's getting our bacon sliced she noticed these lovely smoked trout behind the glass counter. I have to admit, they were really pretty to look at, golden-bronze in color and heads on still, all neatly wrapped in cellophane plastic. The only thing unattractive was the price tag: $7.49 a piece!! At most they were 14 inches long.

My daughter was looking at the trout intently then looked up at me and said "We should make some of those." God bless her! She's gone beyond asking me to actually buy stuff like that and knows that I will say "yes" to attempting to making some ourselves. She's no dummy, she knows the project would include a fishing trip, too!

We came back with 10 rather small rainbow trout and set aside the 5 largest ones for our first try at smoking trout. The Smoked Trout recipe we used was from the Bradley Recipe Site which was designed for large trout filets. Since we were smoking a small amount of whole trout we did half the amount of brine we prepared and shortened the brine time a bit. Here's what you'll need:
Photobucket
Ingredients

  • up to 2 1/2 pounds of whole, cleaned trout
  • 2 1/2 cups cold water
  • 1/2 kosher salt
  • 1/2 cup packed light brown sugar
  • 1/4 cup cognac
  • 1/4 cup honey
  • 2 TBS lemon juice
  • 1/2 of small sweet onion chopped
  • 1 clove of garlic minced
Combine all the ingredients, mix until salt and sugar is completely dissolved. Put your trout in a ziploc bag or other non-reactive container. Pour the prepared brine over the trout making sure the fish is fully submerged. Place in the refrigerator for 10 hours turning a few times.
Photobucket
After 10 hours remove the fish and rinse under cold water and pat dry with a paper towel. With either tooth picks or pieces of wooden skewers to open the cavities of the fish for good air and smoke exposure. Place on a pan or cookie sheet and return to the frig for 2 hours to air dry.
Photobucket
Place your trout in a 135F preheated smoker. With the vent half open and water in the pan, smoke with 2 hours of cherry smoke. Alder and apple will work equally well.
Photobucket
After the 2 hours of smoking, increase the smoker temperature to 150F and continue cooking the trout until they reach an internal temperature of 140F. It took a cook time of approximately 6 hours of smoking and cooking to reach this temperature with our trout.
Photobucket
After the trout are complete, let them rest in the frig for 24 hours before eating them. It allows the flavors, especially the smoke flavor to marry and mellow. Enjoy!


Thursday, July 7, 2011

Strawberries.....Finally! I'm Making a Pie.

Just when I thought I had seen everything weather wise here in North Idaho, this spring was the coldest, wettest, most slowest to start we have ever seen in our 15 years of living here. Our garden has really paid the price this year. Never had I my sugar snap peas fail to germinate, they literally rotted in the ground and I had waited till May to plant them, too. Other than the radishes and lettuce the garden hasn't produced much to eat until finally this last week the June-bearing strawberries have kicked in and I was actually able to pick enough to make our favorite fresh strawberry pie: Strawberry Glace Pie.

I personally love this recipe because it's so easy and since it's so loaded with fresh strawberries you feel like you are eating something that could actually be good for you. Here's what you'll need to make one for your family:

  • 6 cups of washed and cored fresh strawberries
  • 8oz package of softened cream cheese ( you can use the reduced fat type, I do)
  • 3 TBS corn starch
  • 1 cup of sugar
  • 1/2 cup of water
  • 1 baked pie crust (store bought or homemade, it's all good)

Beat the 8oz of cream cheese until it's smooth and easy to spread.
Spread the cream cheese evenly in the bottom of your cooled pre-baked pie crust. Set aside.
Crush enough of the strawberries to make one cup of crushed berries.
In a small sauce pan, whisk the sugar and cornstarch together.
To the sugar and cornstarch add your 1 cup of crushed strawberries and the 1/2 cup of water. Blend together then heat over medium heat, stirring constantly. When it get to a good strong boil, let it boil for 1 minute and keep on stirring. You will feel it thicken a bit. After 1 minute of boiling, remove from the cooktop to cool.
While your strawberry sauce is cooling, arrange the remaining strawberries pointy end facing up in your pie crust on top of the cream cheese you already spread there. Depending on the size of the strawberries you may have to slice some in half to fit around the outside edges.
Once the strawberry sauce has cooled pour over your lovely strawberry arrangement to cover it completely. Place your pie in the frig for at least 3 hours to set up, the longer the better.

After chilling, your pie is ready to eat....Enjoy!